Football STEM Challenge!
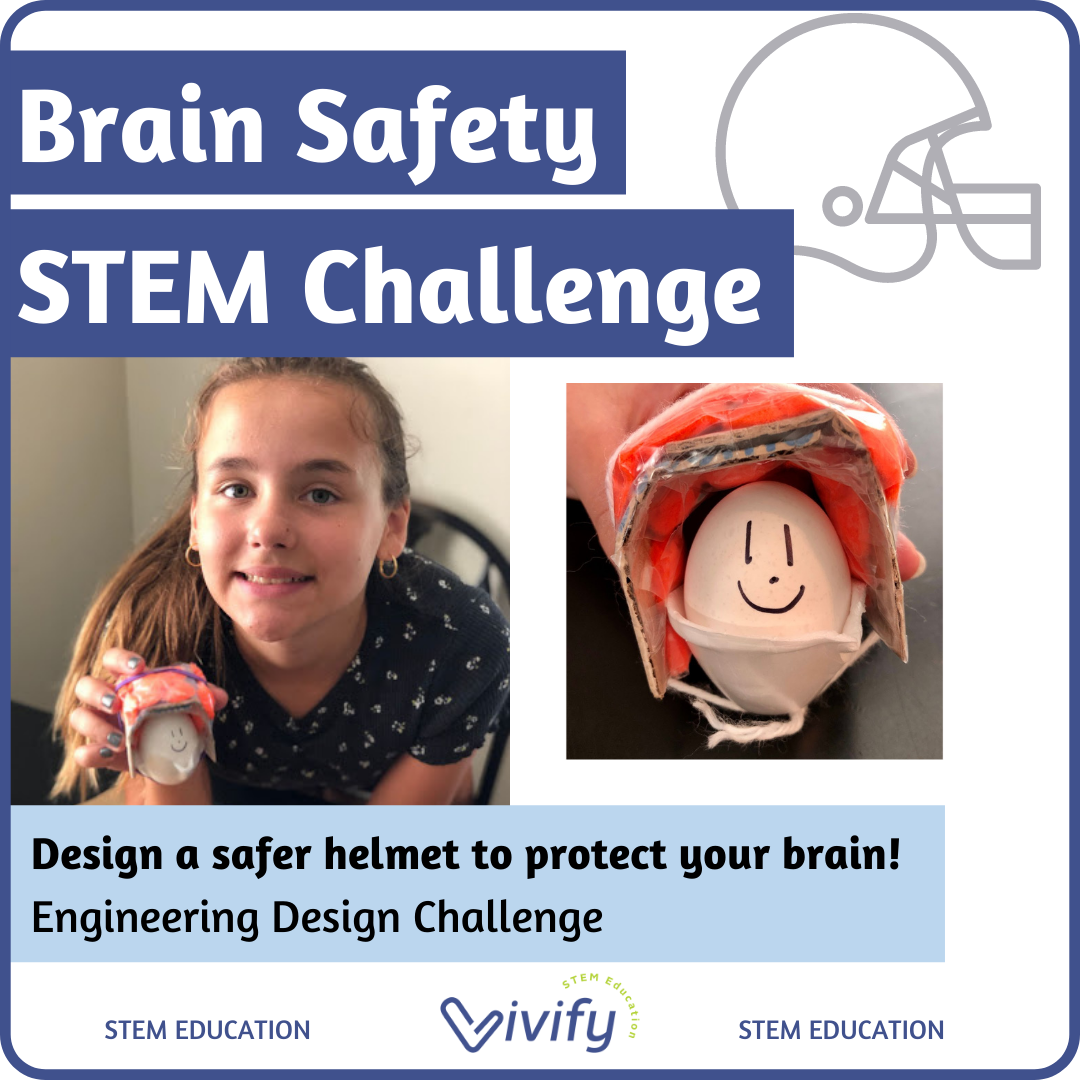
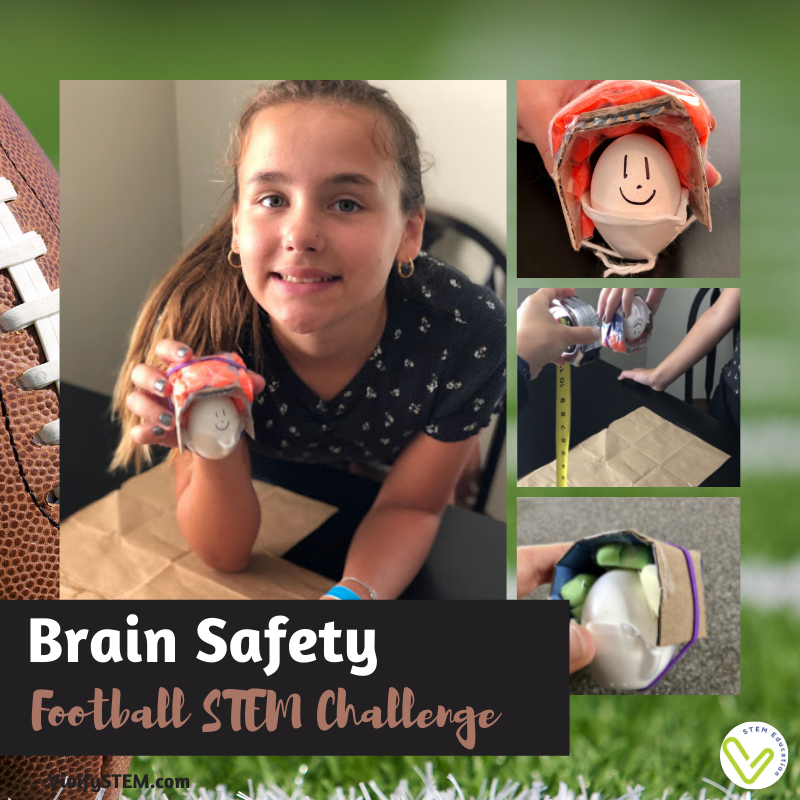
Brain Safety Football STEM Challenge
What do football and STEM have in common? Teamwork! Hut-Hut-Hike!
It’s football season! Challenge your students to create a safer football helmet for their adorable “egg” players. Using the engineering design process, teams of students design, create, and test pint-sized football helmets. Your classroom will have a whole squad when this challenge is complete. But will all of their players make the cut?

The following is a guest blog post by Julie Lyons, a STEM and Technology teacher for Grades PK - 5 in a Maryland private school. She previously taught 3rd and 4th grade and college technology classes. Her family, traveling, and always asking questions are a few of her favorite things! Read on to learn from her experience developing the brain safety STEM challenge!
Brain Safety STEM Challenge Overview
During this challenge, students learn about football helmet history, brain safety, and shock absorption. Next, using cardboard, rubber bands, tape, pom-poms, cotton balls, and even marshmallows, students design a helmet to protect their egg player from a 1-foot drop. Get your students to huddle up & BREAK into this challenge!
What age is best for this challenge? This challenge is geared towards upper elementary to middle school students, yet could be leveled down to include students as young as Kindergarten. How cool would it be to turn this into a multi-grade level cooperative STEM challenge! The older grades could create the outer shell helmet and then work with the younger grades to incorporate the shock-absorbing material and the helmet fastener. In the culminating egg drop, all would feel success in their teamwork participation!
How long does the challenge take to complete? The basics of this activity can be completed in an hour-long class or you can utilize multiple hour-long classes to thoroughly incorporate the challenge and all of the extension activities. We recommend at least a 90-minute session to have enough time for each step of the engineering design process including fun video introductions, reflection, and sharing at the end.
To see this challenge in action, head over to the PBS Learning Media for a video of a 6th-grade teacher completing a similar activity. Click here to watch.
Step 1: What to Discuss Beforehand
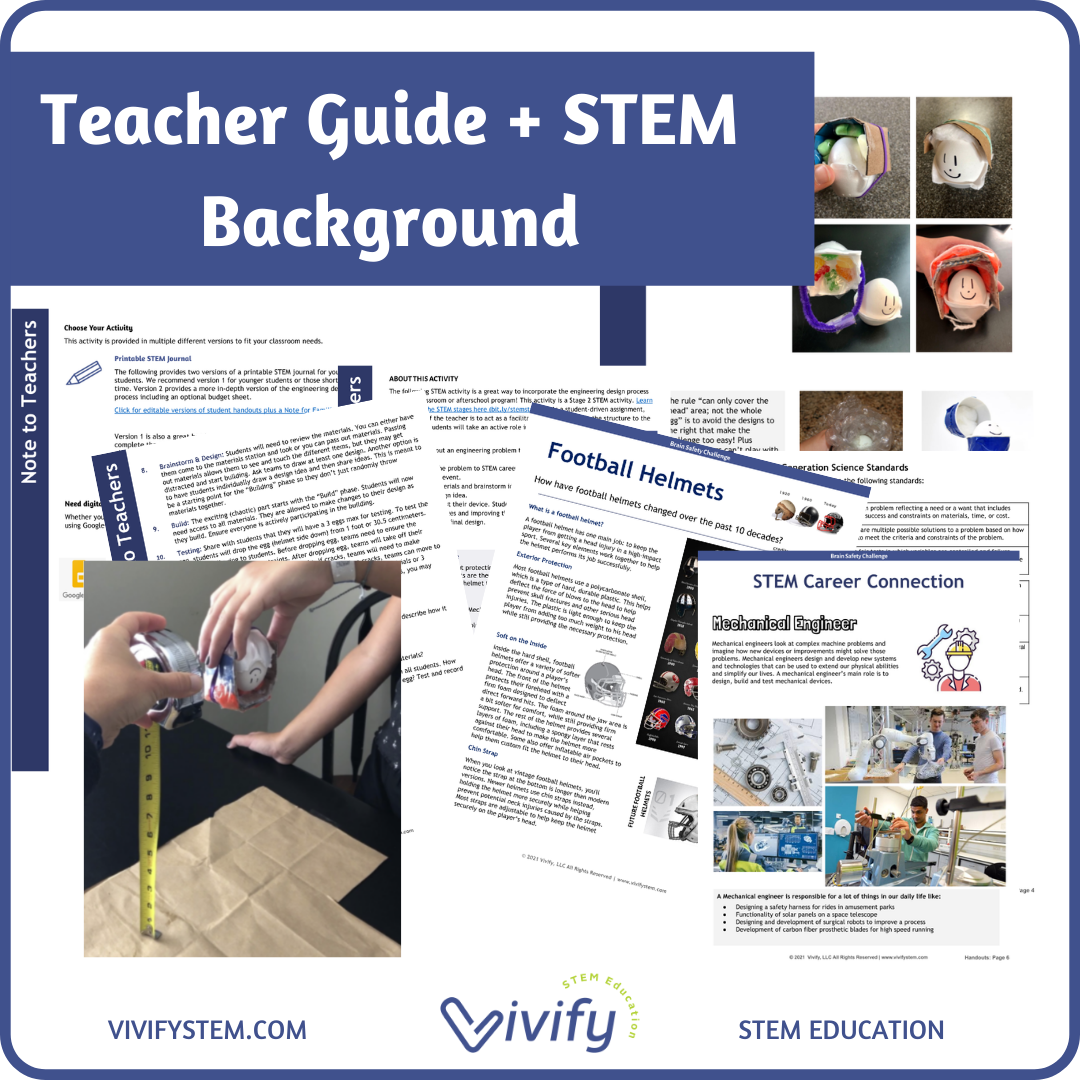
For this activity, we talked about mechanical engineering as a STEM career. Mechanical engineers are engineers who design and develop new systems and technologies that can be used to extend our physical abilities and simplify our lives. A mechanical engineer is responsible for a lot of things in our daily life such as the development of carbon fiber prosthetic blades for high-speed running and creating safer football helmets. I also showed videos (more resources below) of the evolution of football helmets and future football helmet design ideas.
REAL-WORLD HELMET SAFETY:
STEM CAREER CONNECTION:
Science background
Connect this challenge to the brain, concussions, and the study of neuroscience! Here is a brief background: Different parts of the brain perform different functions. Our Prefrontal Cortex (PC) is in charge of our attention span, impulse control and memory. Our Hypothalamus (H) controls our body processes like temperature and blood pressure. The Cerebellum (C) governs motor skills and coordination. Since the Prefrontal Cortex is in the front of the brain (the forehead area), if someone is hit and receives an injury to the front of their head they may experience an increase in impulsivity and begin spending all of their money on ice cream or blurting out the answers to every question a class is asked. If someone falls backwards and bangs their Cerebellum, they may all of a sudden run into things, lose their depth perception and not be able to skip.
During the STEM activity, have students draw the different areas of the brain on their egg’s head. Use initials to save space. When eggs are dropped, students can point out what part of the brain might have been affected during impact (visible by a crack) and how this could hinder their egg player’s game performance.
Step 2: Explain the Mission
Each team will be given the mission of creating a football helmet to protect their egg player from a 1-foot head-on collision drop. As students create safer and safer helmets, you can increase the drop height until you reach maximum egg helmet safety! Begin with a specific goal for all students to feel success, but then keep the challenge open-ended to allow for differentiation based on student ability. You can even end this mission with a Brain Safety Max Height competition with your entire classroom!

Step 3: Brainstorming
Split students into teams of 2 – 3. For grades K – 2, students work best with just 1 partner. Grades 3 or above can work with up to teams of 3. Larger teams are difficult as not everyone will be able to actively participate. This activity can also be completed individually so each student can take home their helmets.
Before building, discuss shock absorption and brain safety with students using the great videos or instruction sheets provided in the teacher notes section of this activity. Then share available materials and have students brainstorm designs for their football helmets. Our guide includes varying levels of helmet creation, from step-by-step building instructions (with picture how-to’s) for younger students to easily follow, all the way to freeflow helmet creation ideas for older students. This will allow you to cover a wide range of ages and ability levels and to use this activity across multiple classes.
SUPPLIES YOU’LL NEED:
cardboard
eggs (3 per team)
egg cartons
rubberbands
tape
bubble wrap
cotton balls
sponges
marshmallows
pom poms
cotton balls
pipe cleaners
rulers (1 per team)
Step 4: Design and Build
Let students create with little input from you! An initial level of frustration is part of the Engineer Design Process. After students have a well-thought design idea, provide materials for building. Our Brain Safety STEM guide includes student handouts to walk your class through each step of the engineering design process.

HELPFUL HINTS DURING BUILDING:
Decide if your students will use the helmet step-by-step instructions provided or create from scratch. You could even see how the helmet process begins and then share the helmet instructions with teams as needed.
Don’t share completed examples in the beginning. Allow students to explore the materials and struggle with the initial design.
Remind students to test their helmet fit on their egg player while designing.
A secure fastener or chin strap is a challenging part of this activity for younger students. A thick rubber band works the best but you may find your smarties solve it with other materials like pipe cleaners, string or even a tape braid.
Remind students to drop the egg helmet side down.
Keep challenging student teams to build safer and safer helmets that absorb higher drop heights.
Drop hints of what other teams are doing to teams who may be struggling with a part of the challenge.
If time allows, have teams drop their eggs one at a time so classmates can observe or have teams video record their egg drop. A slow motion video would be super cool to see!
Step 5: Reflection
A STEM challenge should always end in reflection and the sharing of designs. Some great questions to ask:
What were a few challenges in working in teams?
What did you learn about communication?
What materials worked best for your design?
Looking to implement this challenge in your classroom? Click below to access Vivify’s Brain Safety STEM challenge that includes real-world STEM connections, student handouts, science handouts on shock absorption and brain anatomy, and a complete teacher’s guide.
For more sports-themed activities, click here for heart rate math, paper football math, and more!