6 (not) Electrifying Tips for Teaching Circuits and Electricity

I’ve worked with a lot of 4th and 5th graders making a lot of circuits, so I have some advice for teachers new to teaching circuits in class. These are my 6 (not so) electrifying tips.

Before we begin, ALWAYS WORK SAFELY when working with electricity! We want electrifying in the “thrilling” way, not the literal way.

Here’s how a simple circuit works:

  1. First, you need a source of electricity, like a battery. The battery has two ends called the positive and negative ends.

  2. You also need a conductor, which is a material that electricity can flow through easily. Copper wire is a good conductor.

  3. To make a circuit, you connect the positive end of the battery to one end of the conductor, and the negative end of the battery to the other end of the conductor.

  4. When you do this, electricity flows from the battery, through the conductor, and back to the battery. This creates a loop or a circuit.

  5. You can add other things to the circuit, like a light bulb or a motor. When you do this, the electricity flows through the conductor and powers the light bulb or motor, and it helps them work.

Now let’s teach students how it works with these 6 tips!

Tip #1: Explore

Provide opportunities for open exploration. Students love to explore circuits and need time to figure out what works… and what doesn’t.

The best introduction I’ve done is simply provide a tray of circuit materials and tell students to light the bulb. There was frustration at first, but SO much excitement when it finally worked.

Tip #2: Practice

After students have had time to explore circuits, give them time to practice building and analyzing specific circuits. I recommend using Simple Circuits Observation Stations and Complex Circuits Observation Stations to guide students through their exploration.

Tip #3: Try Digital Circuits

Practice building circuits on the computer using Phet Simulations.

Tip #4: Try Snap Circuits

If possible, get sets of Snap Circuits (affiliate link). When teachers have classroom money and ask me what to buy this is my #1 answer every time. I also like this traditional set of circuit materials.

Play Video

Tip #5: Direct Teach

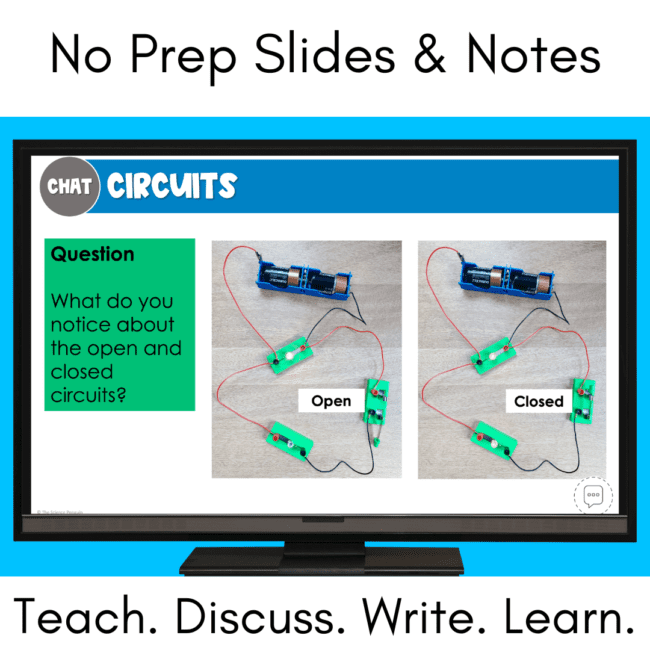
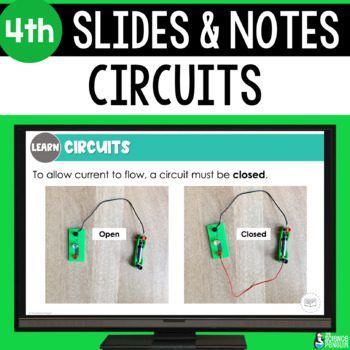
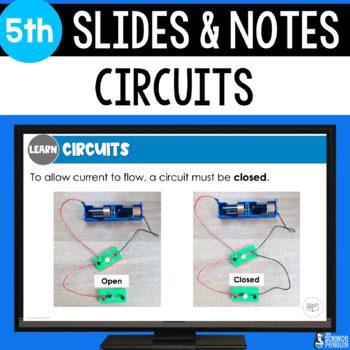
Be sure that students really understand circuits after their hands-on exploration.  I recommend Circuits Slides & Notes and Electricity Notebook Templates.

Electricity and Circuits


Tip #6: Teach to Trace

Play Video

It’s time to model and practice.

I recommend having students practice labeling the circuit and tracing the path of energy between the battery and each output device (i.e. circuit, buzzer, or motor) with their pencils.

I recommend using colored pencils. You can use one color per output device to show the path (or lack of a path).

Need circuits to practice? Try Circuits Test Prep Task Cards.

You don’t have to use this strategy forever, just to get started and make sure students understand. When students are ready, they can trace the pathways using their fingers.

Electricity and Circuits Teaching Resources

Sign up for the Free Resource Library

This is an exclusive library of 40+ science printables, labs, activities, and games for grades 3-6. Sign up and check your email for immediate access.

Share it:
Email
Facebook
Pinterest
Twitter

You might also like...

Top