
Getting Started with 3D-Printing in the Classroom
The following is a guest post from Erik Murray.
Have you ever heard the story of Archimedes? Once a science advisor to the King of Ancient Greece. One day the King commissioned a new crown, when he received the new crown. It didn't feel right. The king weighed the crown and it weighed the right amount of gold that he gave the goldsmith.
The King asked Archimedes to determine if Goldsmith cheated him out of gold. Replacing some of the gold with another material. The story goes that Archimedes, stumped, took the crown into the bathtub. In the tub, the crown fell off his head and he watched the water overflow the tub. Archimedes screamed EUREKA! Running down the street seeing that he came up with a solution to this problem.
As a teacher, I wanted to duplicate this experiment in my classroom for a long time. It wasn't until I got a 3D-Printer in my classroom was I able to duplicate this experiment. I made identical crowns, the only thing that was different was their density. Students had to tell me what was off about the crowns and which one was suspected to be fake. Since then 3D-Printing has opened up a world of possibilities for teaching. So, let’s talk about how 3D-Printing can enhance the learners in your own community.

This is the moment when I realized how powerful 3D-Printing can be for teaching.
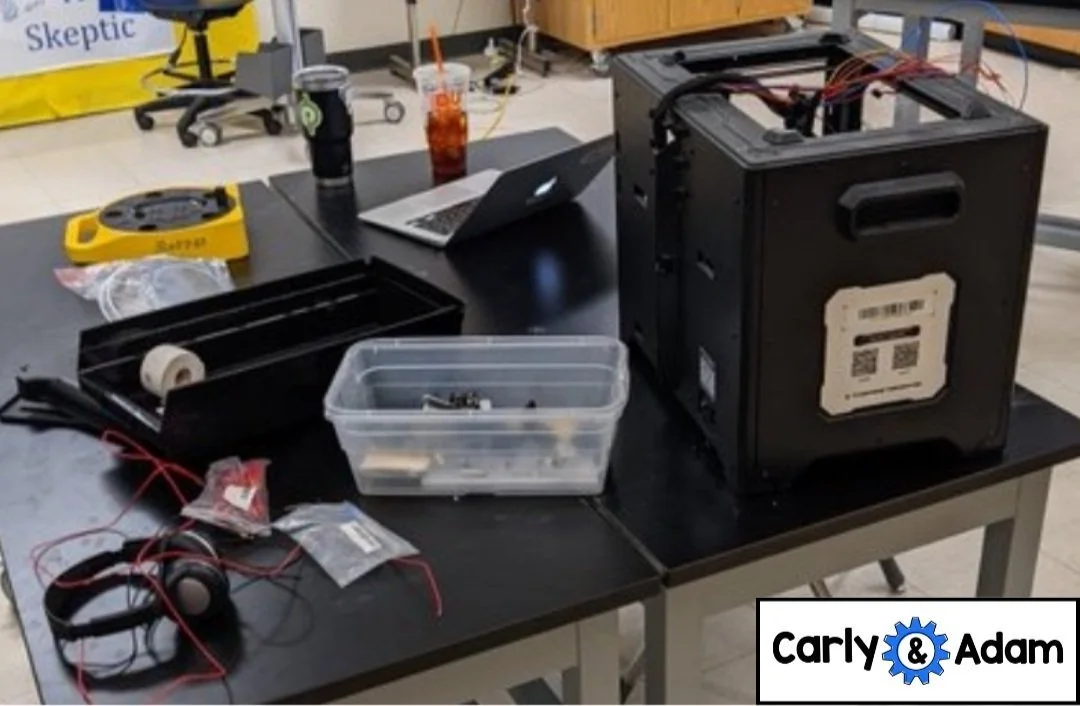
Basics, Selecting the best machine.
When we’re talking about 3D printing in the classroom. We are talking about Fused Deposition Modeling (FDM). In FDM printing a machine heats up a material, a type of plastic usually. Put it down layer by layer to create your model. The other type of printing that's popular is Stereolithography. This process uses a UV light to cure liquid resin. I would stay away from this type of printing in the classroom. The resin is nasty stuff that is not handled correctly.
For selecting a printer that is right for you. There is a trade off between price and accessibility. More expensive printers are usually pretty easy to assemble and get working. While cheaper printers tend to need a little more love to get working.
Makerbot printers have a great out of the box experience. Usually going from unboxing to first print in five minutes. They’re well supported but are expensive. While the Ender 3 is a great machine, it is affordable. But, it needs to be assembled right out of the box, which has a high frustration factor. Downtime is inevitable with a printer. The question comes down to how do you want to handle that downtime? Do you want to call a company that will send you a fix ASAP. Or do you want to take your own time to diagnose, take apart and repair the printer?
Downtime Like this is inevitable, the question is how do you want to handle it?
Projects
I was having a conversation the other day with some friends about 3D-Printing. One of my friends in the group was curious if they wanted to get one. Someone in the group dropped some great advice. They said that if all you're doing is finding things off the internet and printing them. The novelty of it will wear off pretty fast. If you are designing things then the hobby will last a lot longer.
The same is true for teaching. Before I had my Eureka moment with the crowns. I didn’t know what I was doing with the printer. When I first got the printer, it was when fidget spinners were popular and I printed a lot of them. Students had a blast doing it. But, I grew tired of it. Sure, there’s a whole bunch of great repositories of files to download a play with. One of my personal favorites is https://africanfossils.org. A collection of early hominid fossils and artifacts that have been scanned. Yet, there’s so much more you can do.
A favorite project of mine that I like to do is 3D-Printing and tinkercad. Is designing American Ninja Warrior obstacles. Every year the TV show “American Ninja Warrior” asks for suggestions on new obstacles. The contest has defined rules and dimensions. Which leads to a great conversation on scale and design thinking. How far can a person physically jump? Is it too far for someone to grab 2-different bars 7-feet apart from each other? To include in this project there's a great web-series on youtube. The series is called “American Ninja Warrior: Crashing the Course.” Which goes into the engineering behind the obstacles.
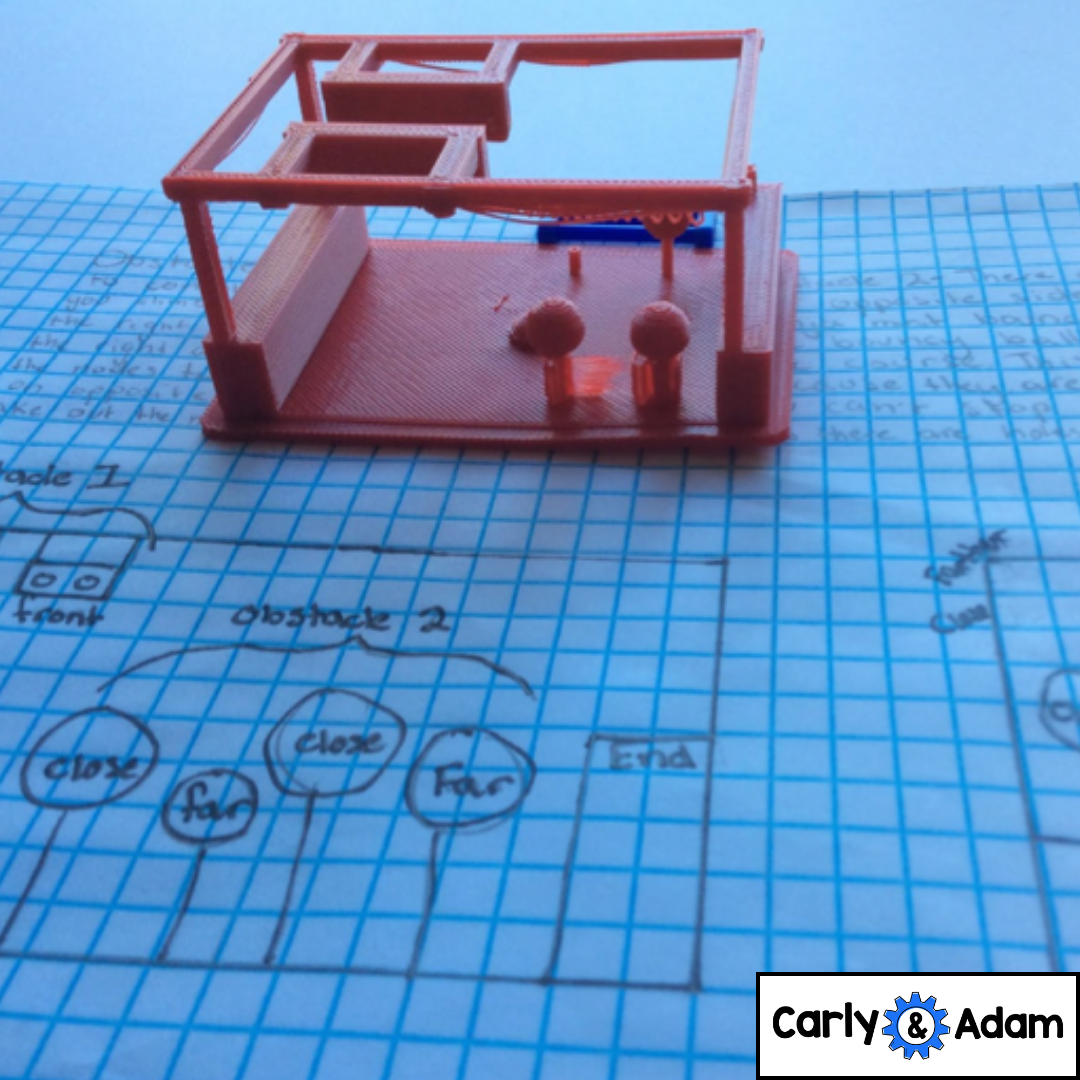
From graph paper to plastic, the results are unbelievable.
Inside the classroom and designing projects is great. But, what if you’re looking for something more practical? Well, there’s plenty of open-source projects that students can get involved in. One, that I’ve worked with is called enabling the future. The goal of E-Nable is to connect volunteers, people with printers. To people in need with prosthetic devices. To become a volunteer with E-Nable you have to assemble the prosthetic hand called the phoenix-3. If you’re interested in learning more about becoming a volunteer, check the information on this link.
There’s plenty of open source opportunities to join and explore. One example that we got involved in was with a dog-rescue organization. This organization rescues dogs from overseas and finds them loving homes. One of their rescued pups was in the need of a dog-wheelchair. She reached out to me and my students. Where we were able to design a wheelchair for the dog to use. If you want read up more on 3D printed dog wheelchairs check out this http://all3dp.com/4/create-customizable-pet-wheelchair/.
Time to get everything printed.
Students have created these awesome projects. Now comes the tricky part, managing the actual printing process. I’ve tried many different systems on how to manage it and it’s very easy to get overwhelmed. The best way I’ve found to manage the print is through the use of a google form. Using this form has been part of my morning routine. When I get to school, I will check to see if students have anything they need printed. I try to prioritize students who’ve not printed something yet and then by urgency. With all that being said, happy building! I’d love to see what you and your learners create!
Have more questions or need additional resources?
Download our Free STEM challenges from our Free STEM Resource Library.
Join our Free Facebook Group.
For more STEM ideas, inspiration, and collaboration with other STEM teachers be sure to join our FREE Facebook group Elementary STEM Teachers with Carly and Adam!

We hope you have found this blog post helpful. To stay connected with Carly and Adam's teaching tips and classroom freebies be sure to follow us on Facebook, Pinterest, Teachers Pay Teachers, and subscribe to our blog!

Erik Murray is a 6th grade STEM Teacher in Massachusetts. Follow Erik on Twitter @MrSTEmurray.