Periodic Table of Elements Project Ideas & Activities (4 Quick & Cool Options)
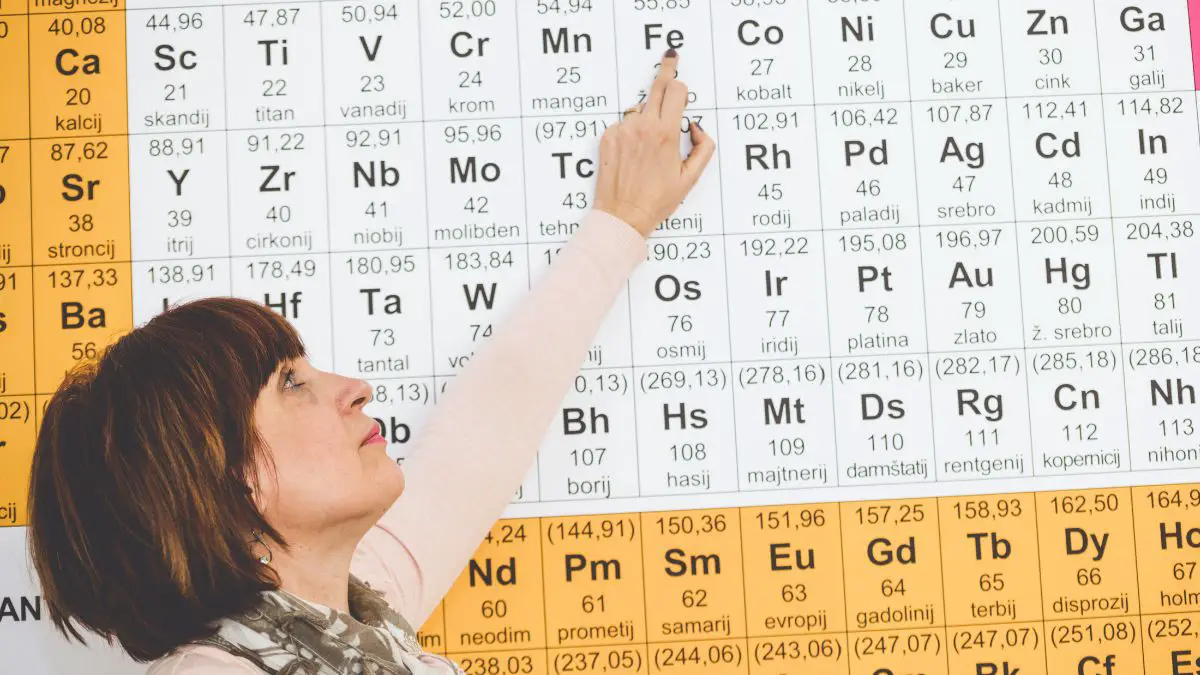
Look at the periodic table of elements from a kid’s viewpoint. What do you see?
A bunch of colorful squares with alien 2- or 3-letter name labels that look kinda cool but don’t really mean much. And when you start learning those names, the features behind them AND their principles of organization, you’re in for some trouble.
Luckily, kids love colors, mystery, as well as complex, long words. And that’s exactly why the periodic table lends itself well to creative activities. Implement any or all of these at home or in the classroom, and the chemical elements might as well become the new dinosaurs!
Related Post: 8 Easy Chemistry Experiments At Home (Get a Great Reaction!)
Best Periodic Table Activities
1. Let’s Sing a Song!
Age range: 9-13
Molybdenum, Yttrium, Manganese… These don’t exactly roll off the tongue. Not unless you sing them!
The Element Song is one of the most interesting educational songs in the world. And frankly, it’s a classic that’s been around for decades in one form or another! It contains every single element from the periodic table. It’s very catchy, but it might not be one of the easiest songs to learn.
What I really like is that the song is not just about listing all those names one by one. It also contains a bit of info on every element from the periodic table. It might not be much, but it’s serious enough to get someone interested in the elements.
Now, of course, kids won’t start learning the periodic table until their 5th grade. But this song is so contagious that you can start playing it to them when they’re much younger!
That way, they’ll have familiarized themselves with the world of chemical elements long before they actually get down to the nitty-gritty.
2. How to Make a Volcano
Age range: 9-13
The simplicity of this next experiment makes it perfect for beginners!
Hydrogen peroxide undergoes a reaction of decomposition and the dry yeast and lukewarm water act as a catalyst.
They speed up the chemical reaction, and the end result becomes visible human eye in a short period of time.
Materials needed:
- 200ml 6% Hydrogen Peroxide (20- volume);
- A few drops of dishwashing liquid;
- One packet of dry yeast;
- 3 tablespoons of lukewarm water;
- Food coloring;
- 500ml plastic bottle;
- Mixing bowl.
- Safety gear (goggles, gloves).
Procedure:
- Thoroughly clean the bottle with water, and let it dry.
- Pour the Hydrogen Peroxide into the bottle.
- Add food coloring.
- Add a few drops of dishwashing liquid and swirl around the solution without forming any bubbles.
- Into another bowl pour 3 tablespoons of lukewarm water and one packet of dry yeast, and stir until the yeast starts bubbling.
- Add the activated yeast into the bottle and let chemistry do its job.
⚠️ Do NOT touch the bottle straight after conducting this experiment!
This chemical reaction is an exothermic reaction that requires less energy to break bonds in the reactants, and more energy to create new bonds. Even though this is a reaction of decomposition, the creation of oxygen and water releases energy in the form of heat.
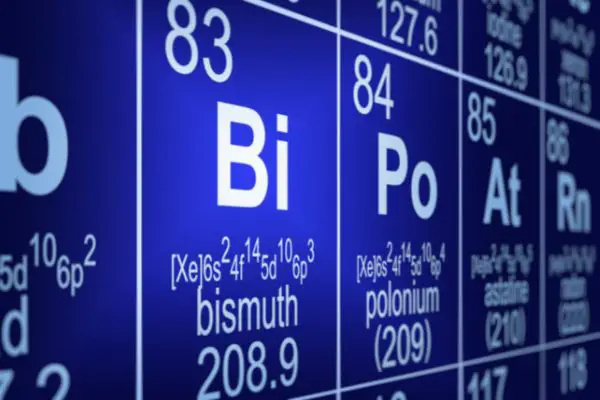
3. That’s So Metal! Isolating Bismuth from Pepto Bismol Pills
Age range: 15-18 years old
Materials needed:
- 60 Pepto Bismol tablets;
- 130ml 31.45% Hydrochloric acid;
- 650ml distilled water;
- 5g aluminum foil;
- Coffee filter;
- Glass stirring rod;
- Beakers;
- Blow torch;
- Crucible;
- Safety gear (goggles, gloves, etc). Safety goggles often come included in chemistry subscription boxes such as MEL Science. So if you’re a subscriber, you’ll already have a pair!
Procedure:
- Crush the tablets into a soft powder. You can use a mortar and pestle, a coffee grinder, a hammer, or a rolling pin.
- Dilute the hydrochloric acid with 650ml of distilled water in a glass beaker.
- Add the crushed tablets to the acid solution and allow them to dissolve completely. Mix the solution with a stirring rod if needed.
- With the help of a coffee filter, filter the solution into another glass beaker. This removes the excess powder and allows the solution to smooth texture. The solution should have a bright pink color.
- Add 5g of aluminum foil into the beaker. The bismuth ions will react with the aluminum foil and create bismuth metal. Allow the bismuth particles to settle on the bottom of the beaker.
- Filter the solution again to get the bismuth metal.
- Pour the bismuth metal into the ceramic crucible and use a blowtorch to melt the bismuth.
⚠️ The leftover solution in the beaker is quite acidic and it will cause damage if disposed of improperly!
This experiment does not allow drastic changes in ratios. You can change the amount of reactants, if you know how to.
4. ‘Cause You Are Gold!
Age range: 13-18 years old
Throughout the history of chemistry, there were many different studies on metals.
Alchemists in the Middle Ages believed that metals other than gold are imperfect. There were many different attempts the transmute metals like lead into gold.
They tried to find a way to transmute them into gold but they never really succeeded in that.
This experiment demonstrates the formation of golden lead crystals in a reaction of double replacement.
Materials needed:
- 1.65g Lead (II) Nitrate;
- 1.66g Potassium Iodide;
- 800ml distilled water;
- Stirring rod;
- 2 – 500ml Erlenmeyer flasks;
- 1000ml Erlenmeyer flask;
- Hotplate-stirrer.
Procedure:
- Dissolve Lead (II) Nitrate in a flask with 400ml distilled water.
- Dissolve Potassium Iodide in a flask with 400ml distilled water.
- Combine the liquids in the Erlenmeyer flask. The solution should react immediately and you will see a yellow precipitate made out of Lead Iodide.
- Heat the solution on the hotplate stirrer at around 80 degrees Celsius, or until the Lead Iodide dissolves and the liquid becomes clear.
- Let the solution cool down as slowly as possible. During the cooling process precipitates of Lead Iodide will start forming again. In the end, the solution should have hexagonal Lead Iodide crystals that resemble gold flakes.
- Dispose of the solution regarding the chemistry lab protocols in your school.
Frequently Asked Questions
Do I need to have a controlled environment to do a chemistry experiment?
Having a controlled environment for a chemistry experiment is very important because:
- A controlled experiment, in a controlled environment, can help you achieve concise results.
- Safety reasons: the results can be calculated and the risk of getting hurt is lower.
Is it safe to do experiments at home?
Doing experiments at home with non-hazardous items is considered very safe. If you use hazardous and toxic materials, like bleach or other cleaning items, you should do the experiment in an open area with a lot of ventilation.
It’s important to wear old clothes, gloves, and safety goggles. Every hazardous experiment should be done with the help of an adult!
What are the most used household items for chemistry experiments?
The most used household items for chemistry experiments are water, hydrogen peroxide, vinegar, baking soda, dishwashing liquid, sugar, salt, dry yeast, liquid ammonia solution, and cleaning toiletries.


