
STEM Classroom Organization Tips
The following is a guest post from Ashley Priest.
Without organization, the STEM lab can become very messy, making it hard to truly teach and help students learn and grow.
Chaos is good but it must be organized!
Flexibility is very important in the STEM lab since sometimes students will be working at their tables, on the floor, or sometimes furniture may need to be rearranged a little bit. Therefore, if it is possible, round tables or even square tables work best in the STEM lab to allow for group work.
Stools are also ideal since these are easily moveable and they allow students to have the flexibility to move around at their table and stand up. They are also very easy to move when projects might require the entire floor instead of working at a table.
Colors are your best friend in the STEM lab.
I pick 6 colors and these colors go with everything to keep things on track.
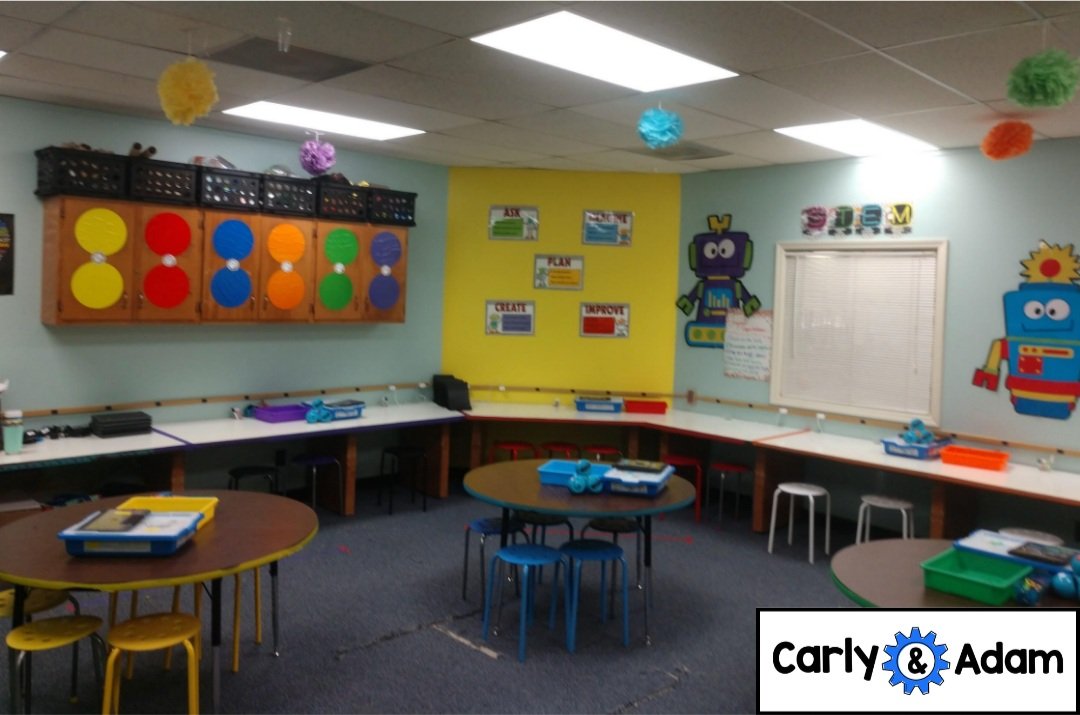
The first thing I color and label include tables.
Every table is labeled with a color and a STEM career, such as the Red Computer Geeks, the Blue Architects, the Green Scientists, the Yellow Engineers, the Orange Technicians, and the Purple Mathematicians.
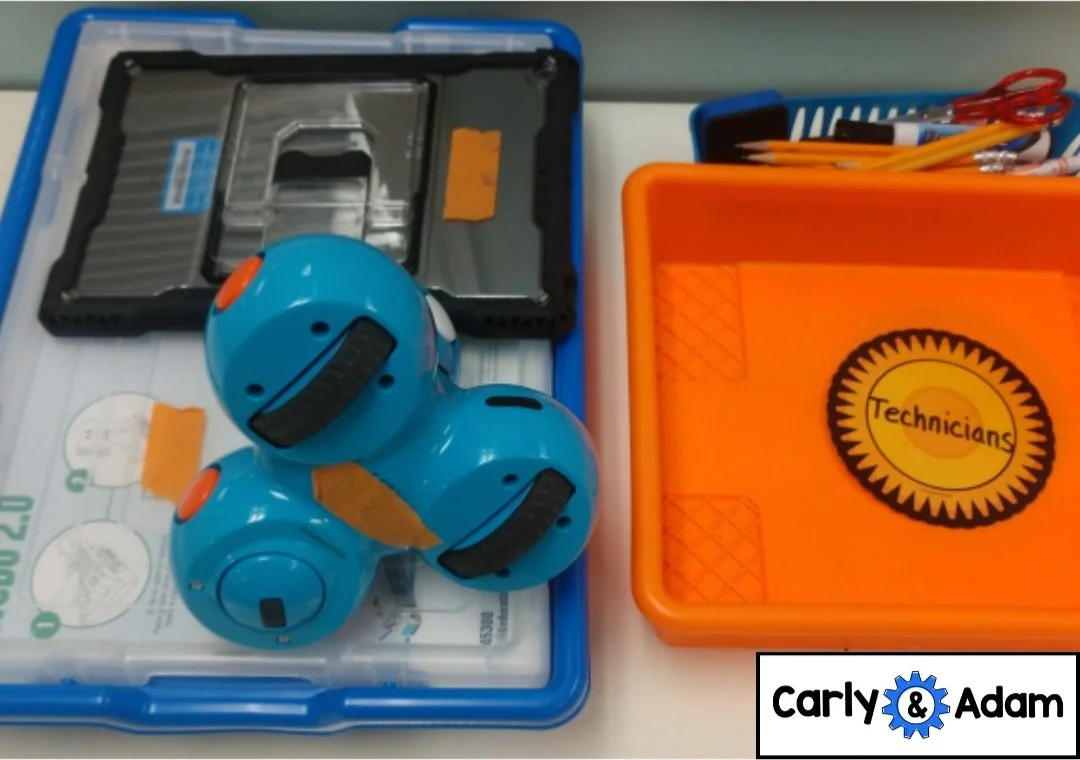
In the STEM Lab, we use a lot of technology, including specific robots, Lego weDos, ipads, chromebooks, etc…
In order to ensure that students keep the right materials at their table and the robots do not get connected to the wrong device, I use color tape to ensure that the right group is using the right robot and connecting to the right device. This saves a lot of confusion if you have ever tried to link multiple devices together in one room.
It can go downhill fast if a system is not in place.

I also use color to code my carpet areas so when students go from the red table, they must find the red line or the red dots on the floor.

This helps keep teams together even on the carpet, and it can be useful if projects need floor space to run robots or work in a certain area on the floor for their project.

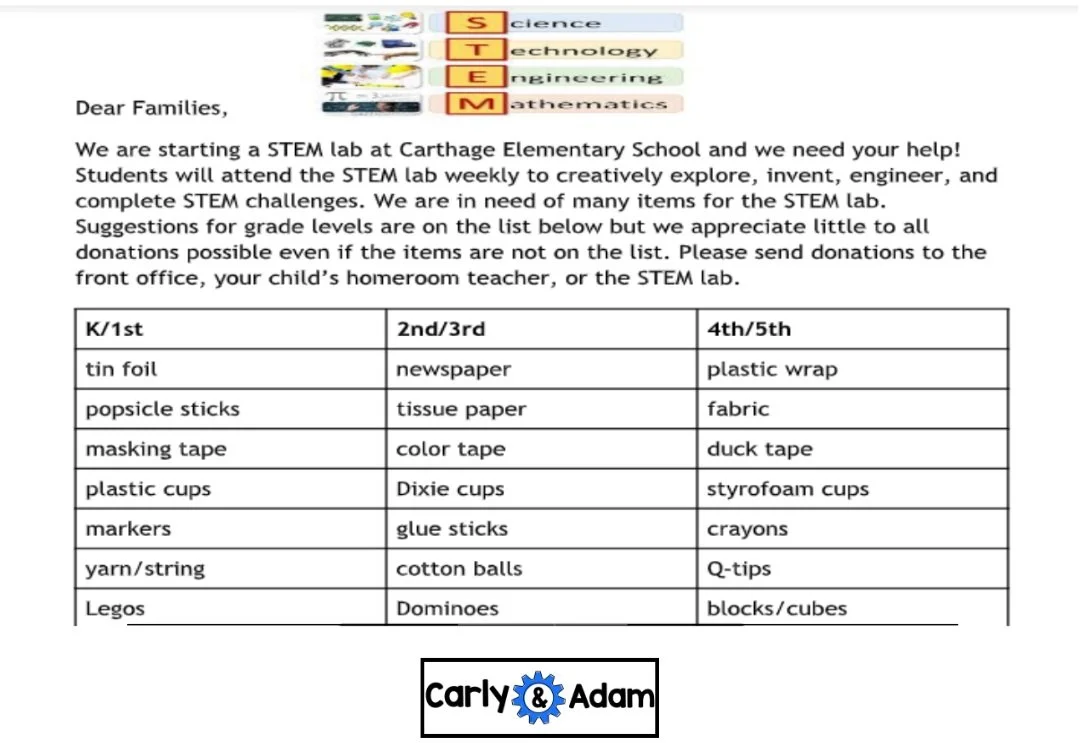
Ask Parents for Recyclable Materials
Materials are a huge part of the STEM lab. Since so many of the STEM projects need recyclable materials, I like to ask for donations from parents. I do this through newsletters, emails, and messages on apps like Class Dojo.
I also collect items at home and have family members collect these items.
Once you send out a message to parents, be prepared for many supplies to come rolling in since these items are reusable and usually not expensive.
Therefore proper storage is very important to not feel overwhelmed by the amount of materials.
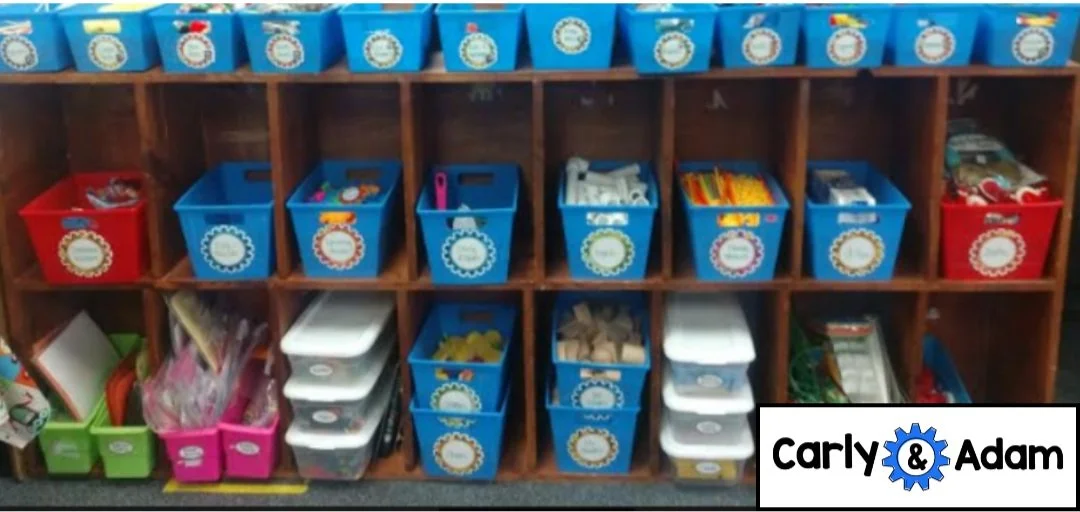
Tubs, bins, boxes, and shelves are your best friend!
This will help keep the materials at bay and organized so you know specifically where to find them. I am also a fan of labeling these items especially if I need to stack bins and tubs on top of each other.
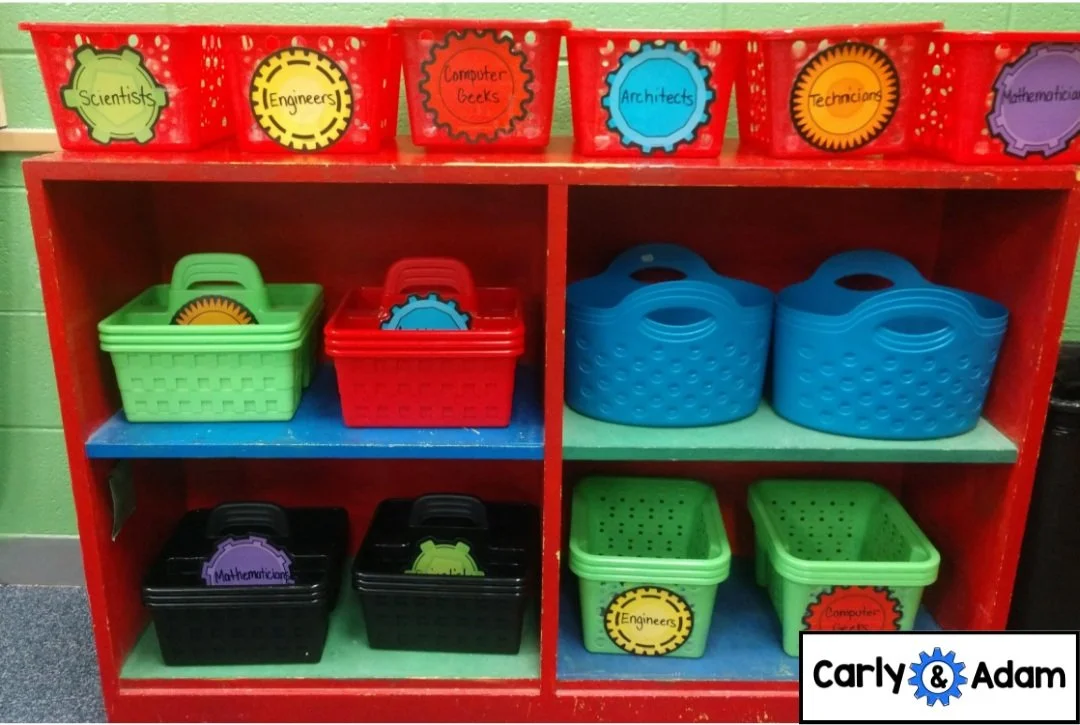
Once materials are organized, it makes setting up materials for each project a lot easier since you know where everything is. I like to set up materials ahead of time. I label bins with the colors of the table so I know what table to place them at.
Since I have multiple grades in the STEM lab, I usually use multiple bins and have them ready for the entire day.
Therefore, I may have 5-6 sets of bins with matching labels and colors to their table. I then put the materials each student will need for the task or project in the bins and have them ready to go when the students walk in. This helps with my time management since I usually have a limited amount of time to spend with the students in the STEM lab.
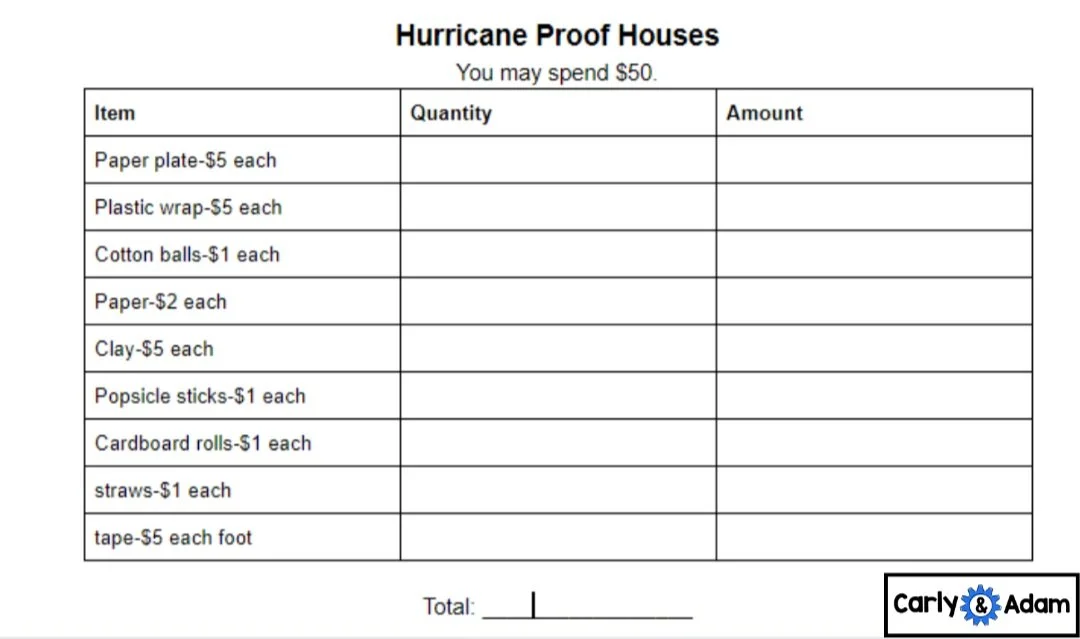
Sometimes students will have to gather their own materials for certain projects, especially if I am having the students use a budget or count items.
When I use a budget, I usually only have one sheet for tables to make a plan and work on.
Then one person from each group will be the “shopper”, and they will go to the bins with the different materials set up and “shop” and gather what they need. It may be ideal to monitor this, especially at the beginning of the school year and with younger students.

As I wrote about in Elementary STEM Classroom Management Tips, I use engineer notebooks to help with the planning process. Each student has their own notebook.
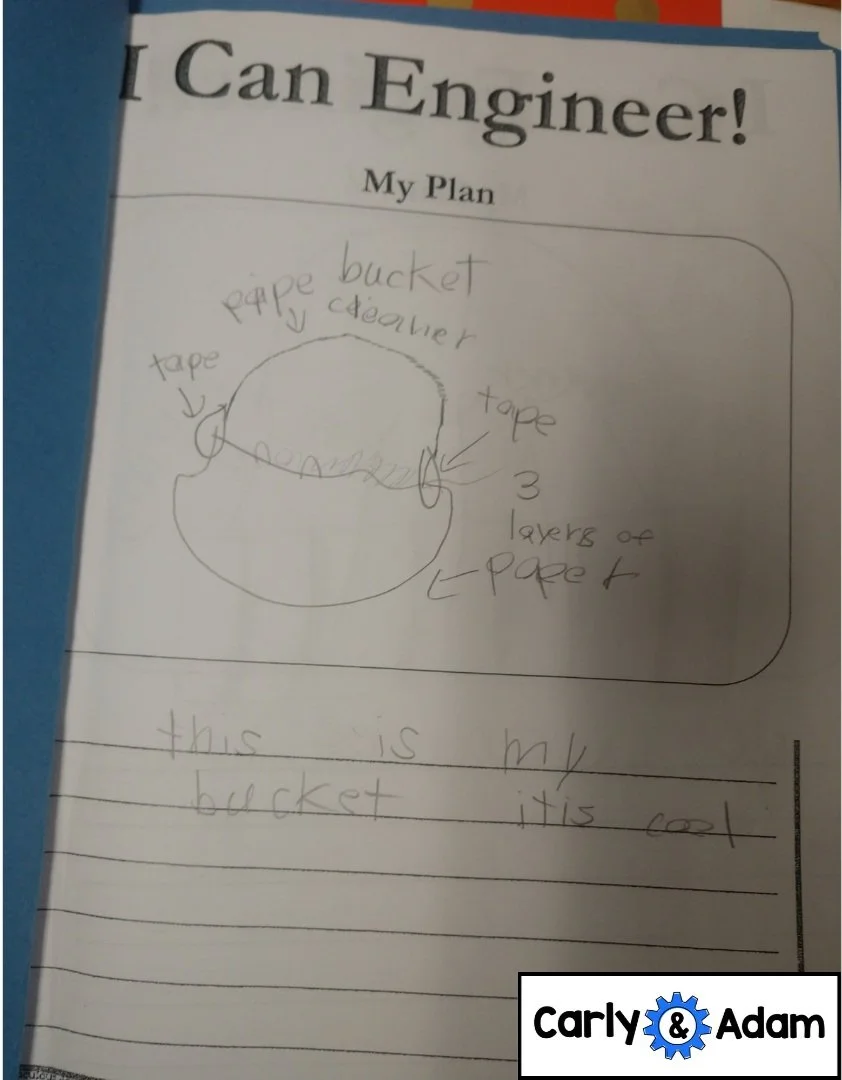
In the STEM lab, since I see multiple classes, it is important to find a place to store these notebooks.
Therefore, I have them stored in a tub in one spot in the room so I can easily grab them or have a student grab them when they first come in and set them out for the students at their table.
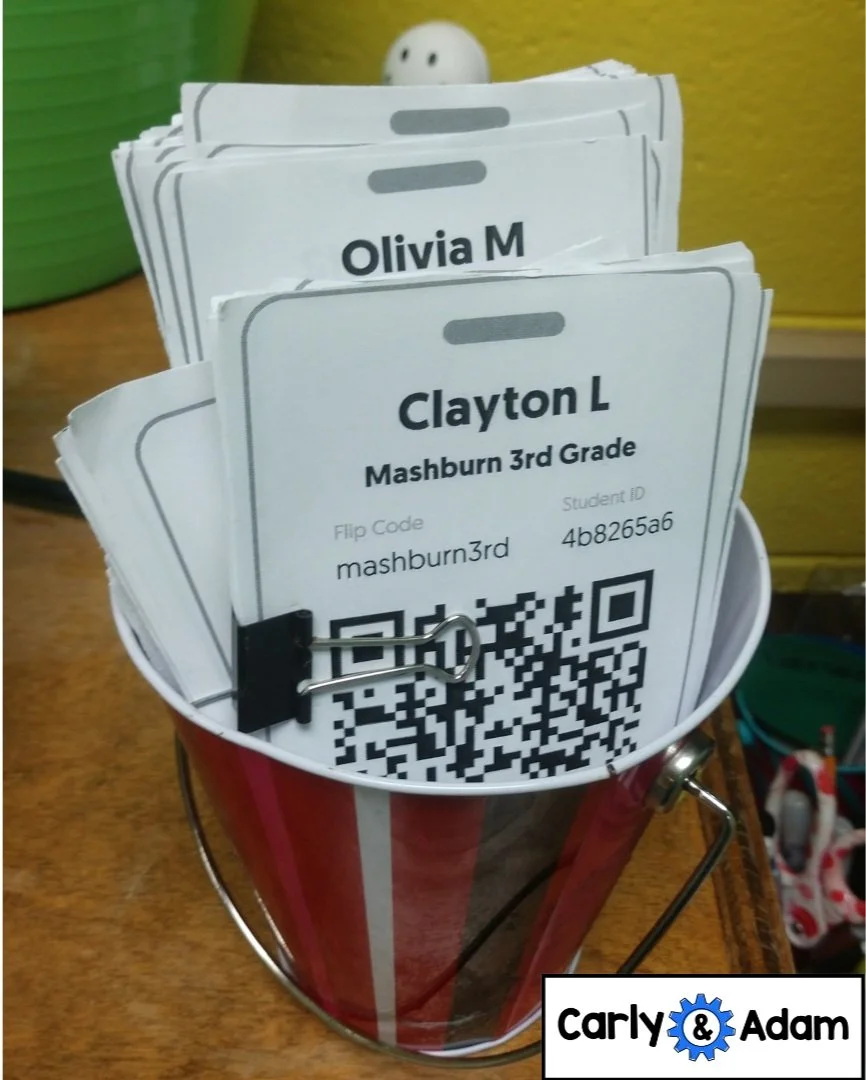
The improvement or reflection piece is a critical part of the engineer and STEM process.
It is easy to have students share at their table or as a class verbally, but it can become a little more complicated when using a device. It is best to already have classes set up for each app like Flipgrid and SeeSaw ahead of time.
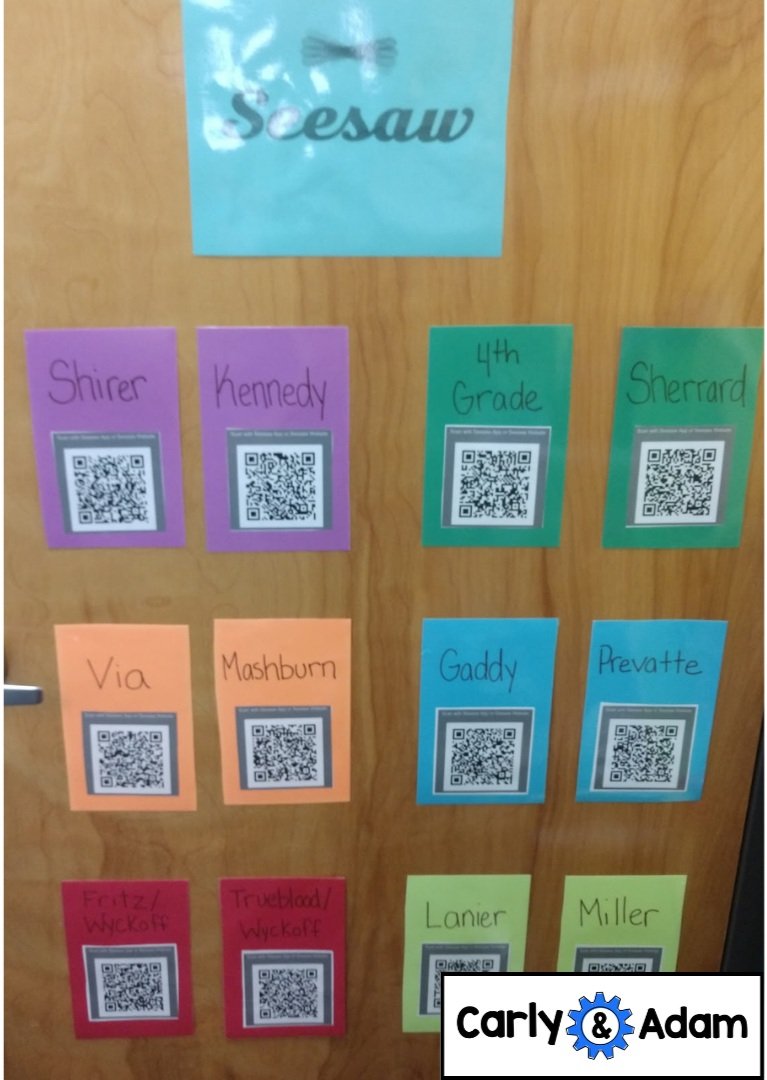
It is also important to have the device ready. I like to place the class codes in one spot around the room for students to easily take their device and scan so they can go right to it.
Use Roles for Clean-up
Cleaning up at the end of each STEM challenge is essential. It helps if each student has a specific job to follow. Some jobs I have used include the Postman who picks up name tags and collects STEM journals and places them back in their bin.
The Clean Up Crew cleans floors and puts scraps in the trash or recycle bins. They also clear tables and wipe them down. The Caddy Crew puts all supplies back in the caddy or basket, makes sure the caddies are nice and neat, and places the caddies back on the shelf.
Quality Control makes sure all chairs or stools are pushed in, all tables are cleared and cleaned, and does a final check of the floor. They are usually the last ones out the door.
These jobs can be assigned by a color table or assigned by each student at the table. They can also just be certain students randomly chosen each week or month and they find their job when they first come in.
Decorate Your Room
Although it is not the most important part of the STEM lab, decorating and setting the room up helps to keep a positive vibe and keep things organized for the teacher and the students.
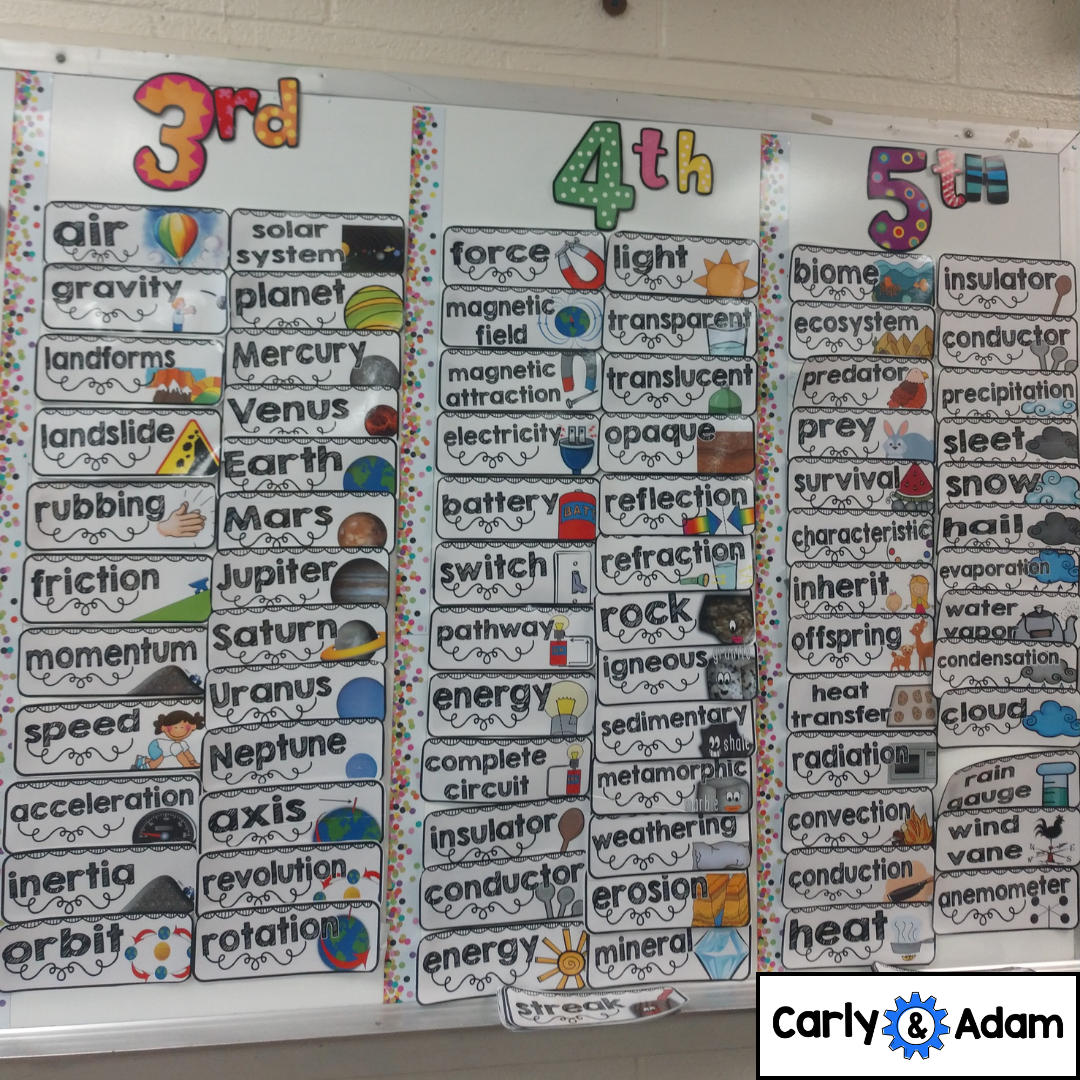
I like to have posters of different STEM careers, display the Engineer Design Process, place my rules and expectations near the front, and have a science vocabulary word wall constantly going for each grade level.

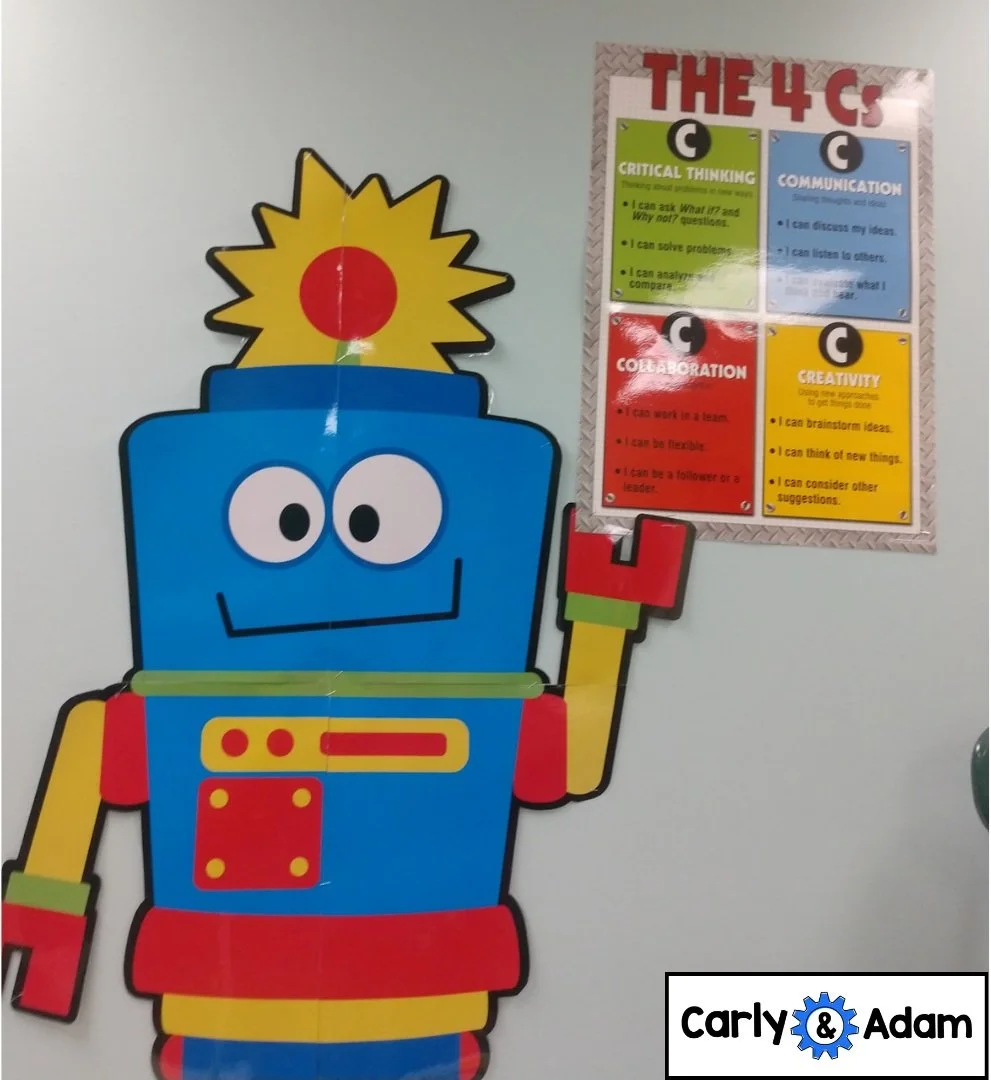
In the past I have used different themes like robots and gears. STEM can be messy and chaotic but with the right tips and strategies, it can be ORGANIZED CHAOS!
Have more questions or need additional resources?
Download our Free STEM challenges from our Free STEM Resource Library.
Join our Free Facebook Group.
For more STEM ideas, inspiration, and collaboration with other STEM teachers be sure to join our FREE Facebook group Elementary STEM Teachers with Carly and Adam!

We hope you have found this blog post helpful. To stay connected with Carly and Adam's teaching tips and classroom freebies be sure to follow us on Facebook, Pinterest, Teachers Pay Teachers, and subscribe to our blog!

Ashley’s goal and mission in life is to create fun, engaging, and meaningful lessons for students to help them fully grasp standards and concepts. One way she believes in doing this is through STEM! Ashley served as a classroom teacher in 2nd and 4th grades and then became one of the first STEM teachers and specialists in her county, helping to integrate STEM in Kindergarten through Fifth Grade curriculum and classrooms. Ashley currently serves as an Assistant Principal in Moore County, NC, but her passion for STEM continues. She loves working with teachers to help them see the importance of integrating STEM in their own classrooms. Connect with Ashely on Twitter @AP_AshleyPriest.
“Whatever it is, the way you tell your story online can make all the difference.”