You don’t always need a laboratory to carry out science experiments.
In fact, how about educating your kids with some household chemical reaction experiments? Here’s a list of some interesting hands-on activities that talk about different chemical reactions.
Table of Contents
9 Simple Chemistry Experiments for Your Kids to Try at Home
1. Bubble Power
What You’ll Need:
- A plastic bottle
- Balloon
- Teaspoon
- 150 ml of hot water
- Yeast
- Sugar
The Process:
Take the plastic bottle and add three tsp of dry yeast and two tsp of sugar into it.
Now, start pouring hot water into the bottle slowly.
Cover the bottle with a balloon and wait for around half an hour.
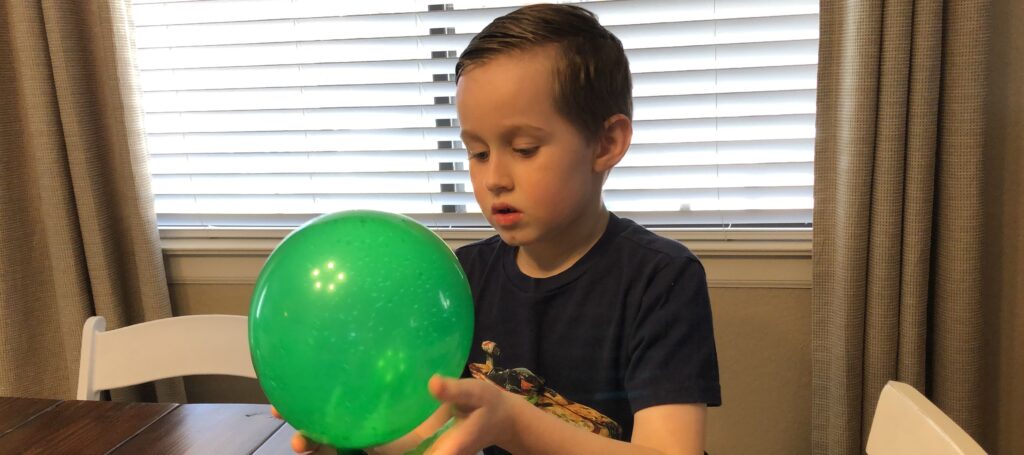
What did you see? The balloon expands, and the liquid starts to foam. As the yeast mixes with sugar and releases carbon dioxide gas, you’ll see many bubbles rising to the surface, causing foamy liquid and balloon inflation. This is called the fermentation process.
2. Soot Experiment
What You’ll Need:
- Candle
- Knife
- Lighter
The Process:
Light the candle and hold the knife in the center of the flame for a few seconds.
Did you see the blade turning black? Keeping the blade in the flame leads to incomplete combustion of paraffin that is present in the candle. This produces carbon particles that eventually cover the blade.
3. Dry Ice Smoke Experiment
What You’ll Need:
- Dry ice (solid carbon dioxide)
- Warm water
- A large container or bowl
- Gloves
The Process:
- Preparation: First, make sure to handle dry ice with care. It’s extremely cold (-78.5 °C or -109.3 °F), so use gloves or tongs to handle it. Adult supervision is a must here.
- Add Warm Water: Fill a large container or bowl with warm water.
- Add Dry Ice: Using gloves or tongs, place a piece of dry ice into the warm water.
- Observe the Fog: You’ll see a thick fog start to form. This is actually a cloud of tiny water droplets condensing from the water vapor, as the dry ice sublimates directly from a solid to a gas (carbon dioxide).
- Optional Enhancement: You can add a few drops of dish soap to create bubbles filled with fog, or add food coloring for a visual effect.
Safety Considerations:
- Always handle dry ice with care, using gloves or tongs.
- Adult supervision is needed, especially when handling the dry ice.
- Dry ice should never be enclosed in a sealed container, as it can build up pressure and explode.
- Make sure the area is well-ventilated, as the carbon dioxide gas could displace oxygen in a confined space.
4. Vinegar Power

What You’ll Need:
- Vinegar
- Glass
- Eggshell
The Process:
Take a glass and place an eggshell into it. Fill half of the glass with vinegar.
Wait for 12 hours and observe the change.
As vinegar is acidic, it breaks down various substances (like calcium carbonate) present in the eggshell. This causes the eggshell to dissolve in the vinegar.
I go more in-depth about this and have a dedicated article step-by-step here, How to Make An Eggshell Disappear Science Experiment.
5. Color Experiment
What You’ll Need:
- Copper coin (a penny will work fine even though they are mostly zinc)
- Ammonia solution
The Process:
For this chemical reaction experiment, take a dark-coated copper coin. Pour ammonia solution over it. You’ll see the solution turning blue. When copper comes into contact with ammonia under the influence of oxygen, it forms a complex compound that results in a color change.
6. Fire Experiment
What You’ll Need:
- Glycerin
- Potassium permanganate crystals
- Water
The Process:
Use potassium permanganate crystals to make a small hill-like structure.
Create a hollow in it and pour glycerin (add only a little quantity).
In case there’s no fire, add one or a maximum of two drops of water.
You’ll see the mixture catching fire as there’s a chemical reaction between potassium permanganate and glycerin.
7. Skittles Experiment
What You’ll Need:
- Skittles (or any other such coated sweets)
- A plate or container (preferably white)
- Water
The Process:
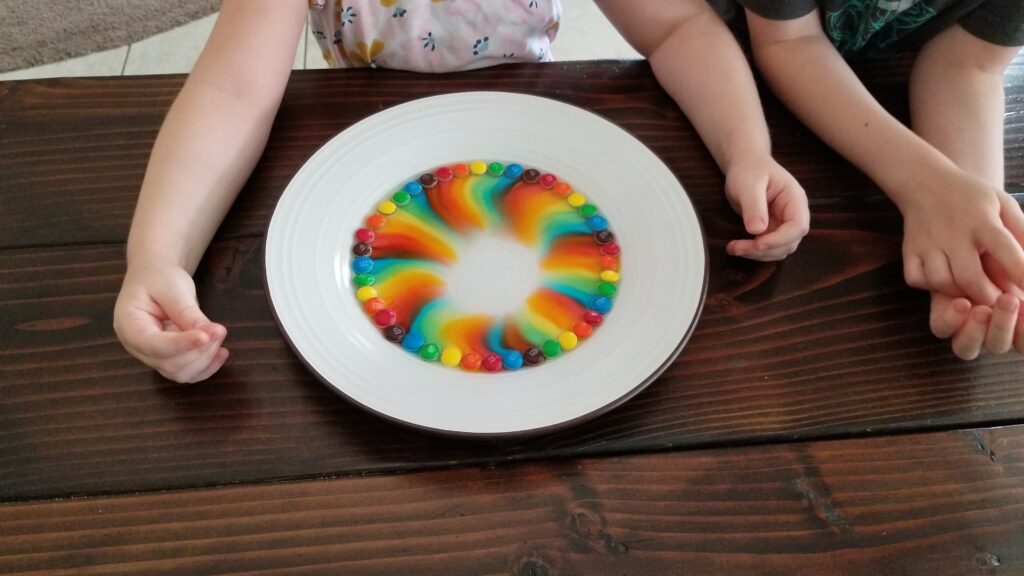
Take a white container or plate and arrange your skillets (or any other coated sweets) over it. Try to arrange them with alternate colors.
Now, pour the warm water into the container slowly. Push the skittles back into their place if they happen to move due to water.
Observe what happens next.
Skittles are coated with sugar and food coloring. So, as soon as you pour water over them, the sugar and color will start to dissolve and spread along through the water, giving you a colorful effect.
8. Invisible Ink Experiment
What You’ll Need:
- Glass
- Paper
- Candle
- Cotton swab
- Water
- Lemon
The Process:
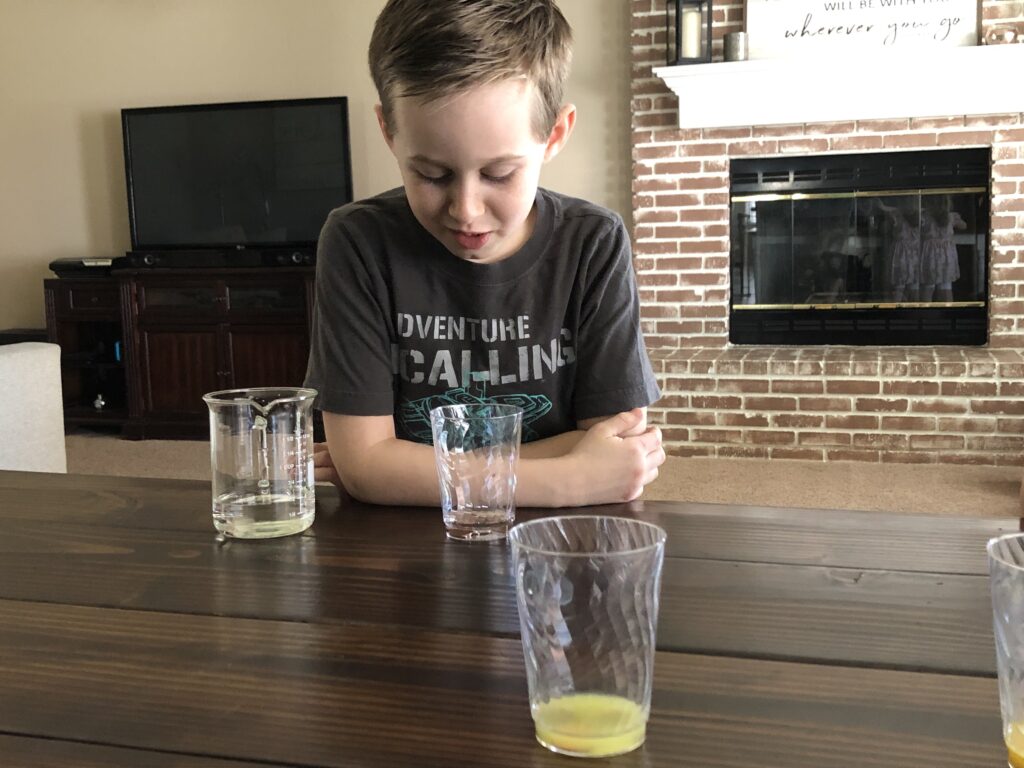
Take a glass, squeeze some lemon juice and mix it with a few drops of water.
Now, dip a cotton swab into the mixture and write something on the paper with it.
Allow the paper to dry. Once dry, hold it over the burning candle. Did you see the text? Is it magic?
The answer is – as lemon juice contains acid, it darkens at high temperatures. So, when you bring the paper closer to the burning candle, you see the text appearing.
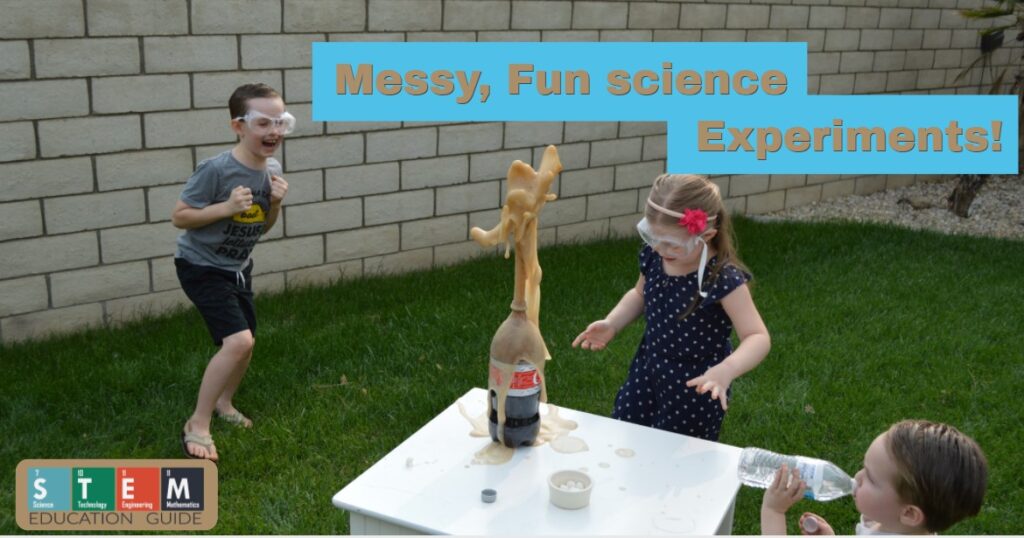
9. Mint Candy Fountain

What You’ll Need:
- Mint flavored candies
- A 2-liter bottle of soft drink
- A tube or a piece of paper
Caution: Carry out this household chemical reaction in an outdoor area, preferably your backyard.
The Process:
Open the soft drink bottle and place it on the flat surface, so it does not tip over. It’s recommended to place the bottle in an area that is not surrounded by anything.
Now, take the paper, roll it up in the cylinder-shape. Make sure that the width is enough for the candies to slide through.
Seal the bottom of the roll with your hand and add the candies to the paper tube.
Hold the paper tube above the soft drink bottle and slide your finger in a way that the candies drop straight in. Drop all the candies in the bottle at the same time and move away from the bottle as fast as possible.
The carbon dioxide gas in the bottle does not form bubbles until you open the bottle. But the gas will escape with force while spilling some soft drink out if you open the bottle immediately after shaking it. So, adding anything to the soft drink will promote bubble formation while forcing it to escape.
Now, as you drop the mint candies in the drink, it offers a lot of surface area for the bubbles to form in huge numbers. So, as it begins to dissolve, it pushes the entire content, resulting in an incredible soft drink blast.
My kids really enjoyed trying other things to see if they can get a bigger reaction, sand surprising works great.
I put together a big list of Messy STEM Science Experiments for Kids.
Final Thoughts
Aren’t these household chemical reaction experiments worth a try? They’ll not only keep your kids engaged but will also help them learn some amazing chemistry lessons in the comfort of your home. If you’re looking for some interesting chemistry experiment kit for your kid, you may want to check out – Colorful Chemistry.
For many of these, all you need is a variety of household cleaning products you probably already have stocked at home. When doing any experiment, make sure the proper precautions are also taken to avoid any possible toxic fumes or combustion reactions.
Have you tried any of these experiments before? What was the result? Did your kids enjoy it? Do share your experience with us in the comments.